Openplatform.xyz Follow @openplatformxyz
Placeholder for our stuff related to Telecom, IT, Internet of things (IOT), ESP8266, Raspberry Pi
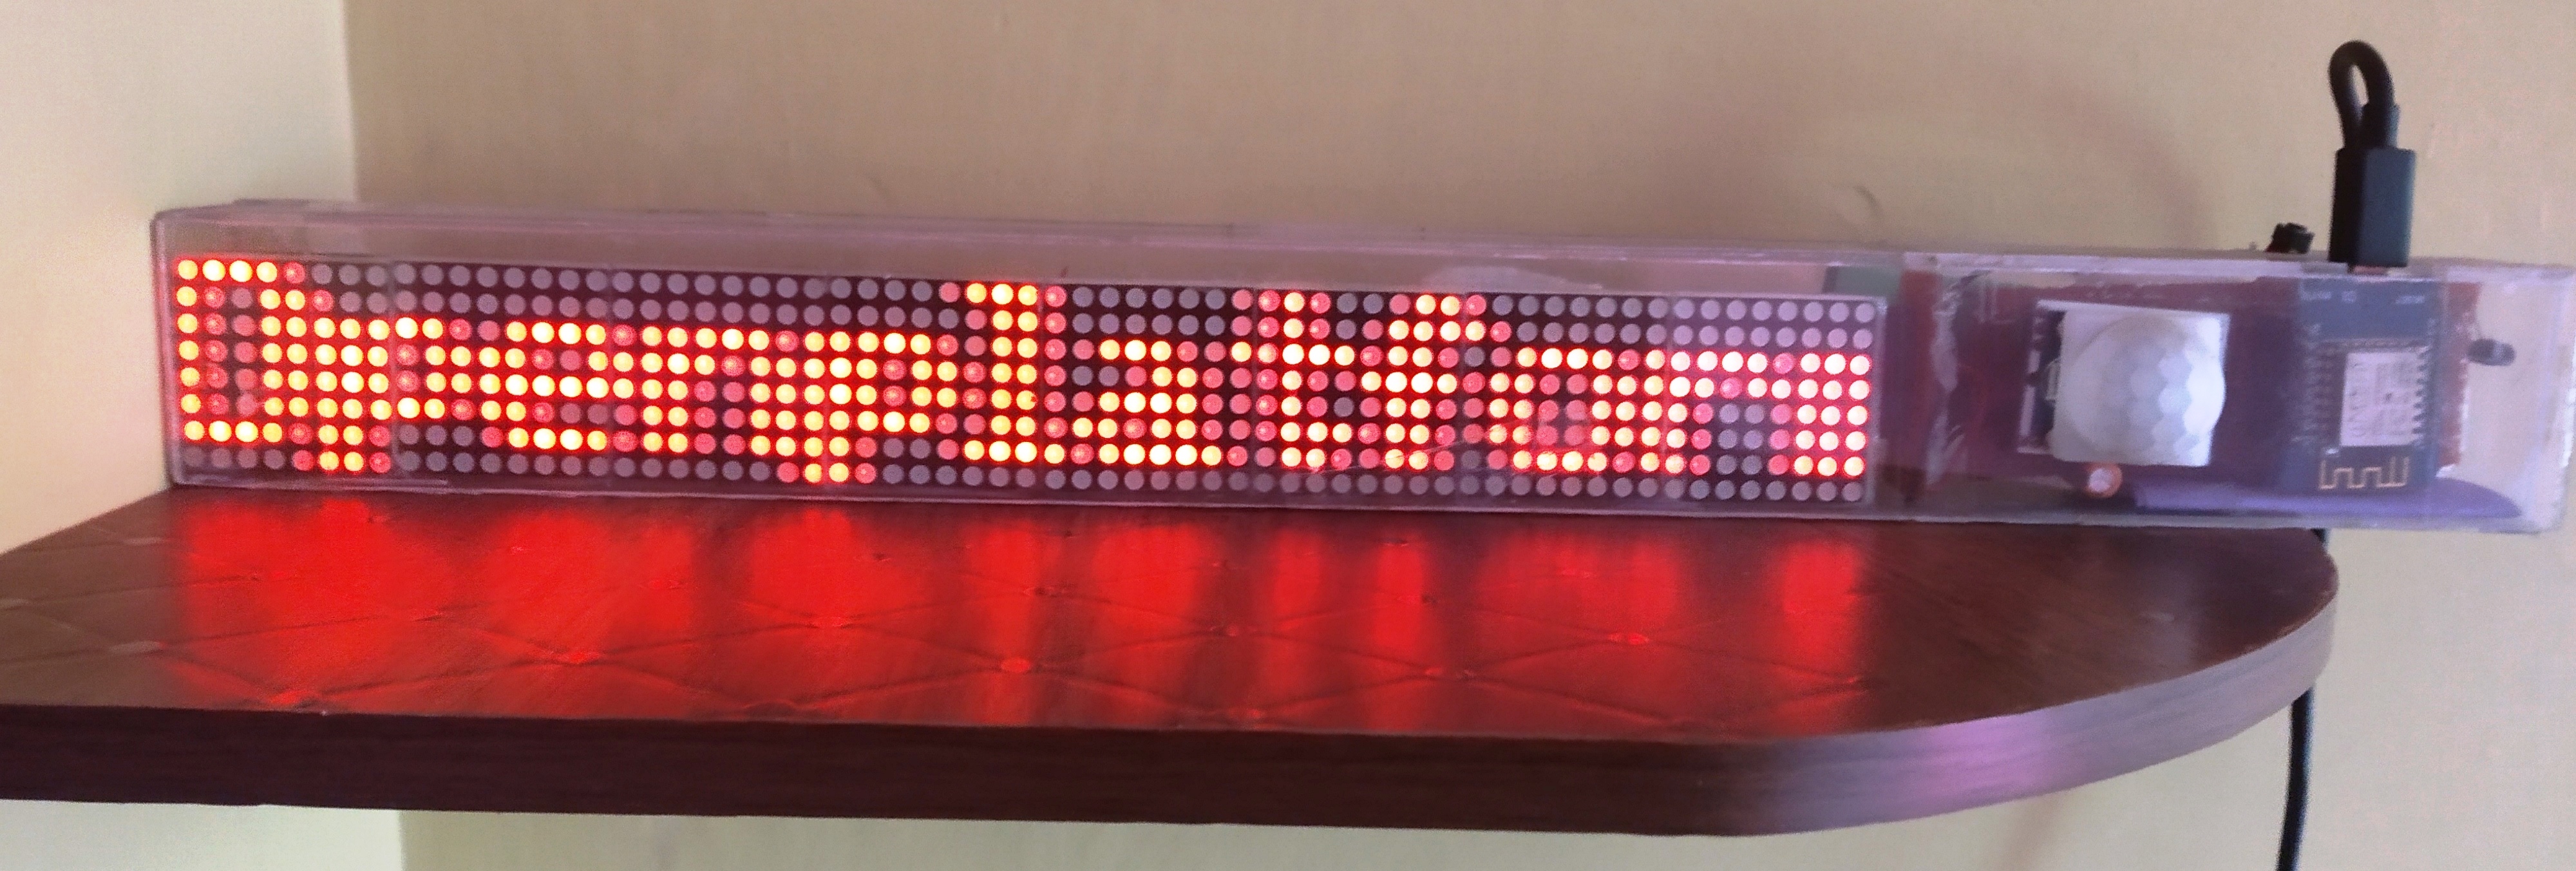
DIY: Openhab Alexa Echo Wall Clock
This gadget has following functions
- Wall Clock, sets time automatically from internet using NTP
- Displays Hours, Minutes, Seconds and CentiSeconds. A centisecond is 0.01 seconds i.e. One hundredth of a second.
- Digital 60 full color LED display
- It's an infinity mirror with 20 colorful LED animations.
- Color smart light like Phillips hue.
- Works with Alexa and Openhab
- Shows one, or multiple (one followed by other) count down timers set through Alexa Echo device.
- Shows cool animations when timers, reminders or alarms goes off
- It can be controlled by voice (Alexa) or web (Openhab or Direct local webpage)
What do you need to build it:
- WS2812B LED Strip 1-meter 60 LED. (These are individually addressable LED's).
- Wemos d1 microcontroller (esp8266) with power adaptor
- Frame, mirror and one-way mirror or tint film
- Openhab installed and working on raspberry pi or any server
- Alexa echo dot
How to make it work
Make a frame to house LED strip. I got a carpenter to make a square wooden frame.
Fix the mirror, LED Strip, one-way mirror
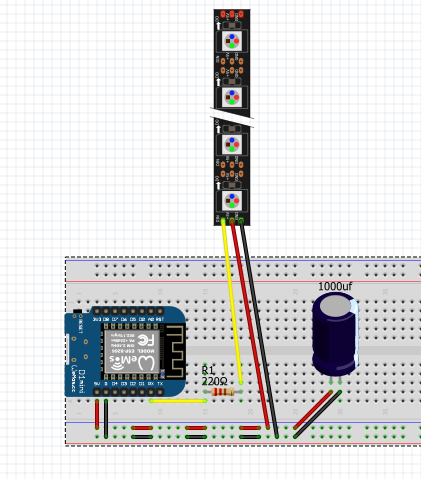
Connect wemos d1 and LED strip:
Connect Rx pin of Wemos d1 mini to
DIN of LED strip using 220 ohm resistance. I am using a mobile charger
(usb pin) to power wemos d1 mini. I connected LED strip to +5v and GND
of wemos d1 mini using a 25v 1000uf capacitor.
Download arduino sketch from git repository. Open sketch in arduino IDE. Edit following in sketch and upload to wemos d1:
- IP address, Subnet, Gateway
- Wi-Fi ssid and password
- MQTT broker information
- NTP time offset
Note: If you are not interfacing with MQTT broker then remove MQTT connection code from sketch, otherwise it will produce delay in updating LED's.
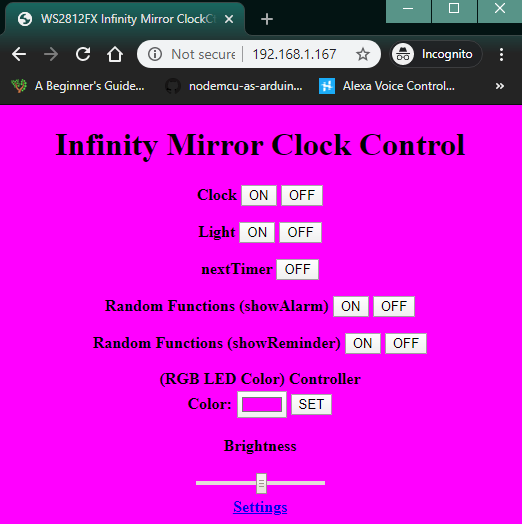
Open the webpage by typing ip address in browser
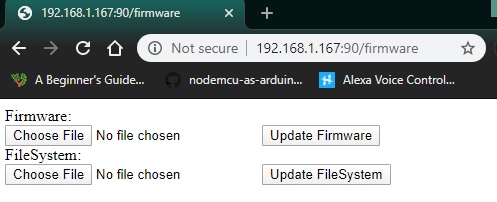
Default OTA user/password is admin/admin.
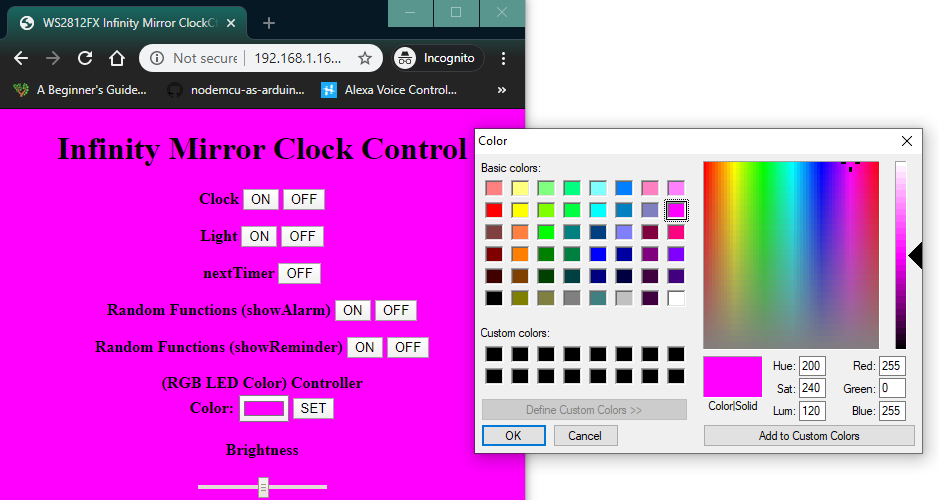
At this stage you should be able to see clock running, select and SET color of all LED at once, ON/OFF Light, change brightness and run animations by turning on Random Functions.
Configuration in Openhab-2.5
Install Amazon Echo Control Binding. Check this link https://www.openhab.org/addons/bindings/amazonechocontrol/
Setting up Alarm integration with Alexa
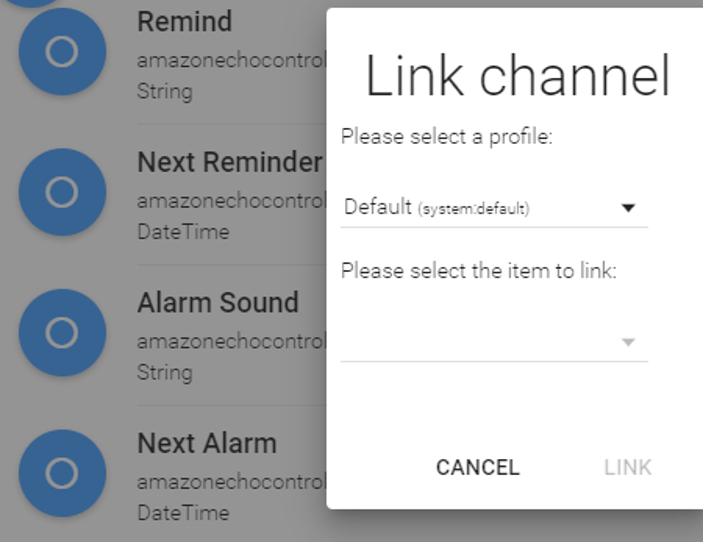
Click on drop down below “Please select the item to link” and select
“+Create New Item”
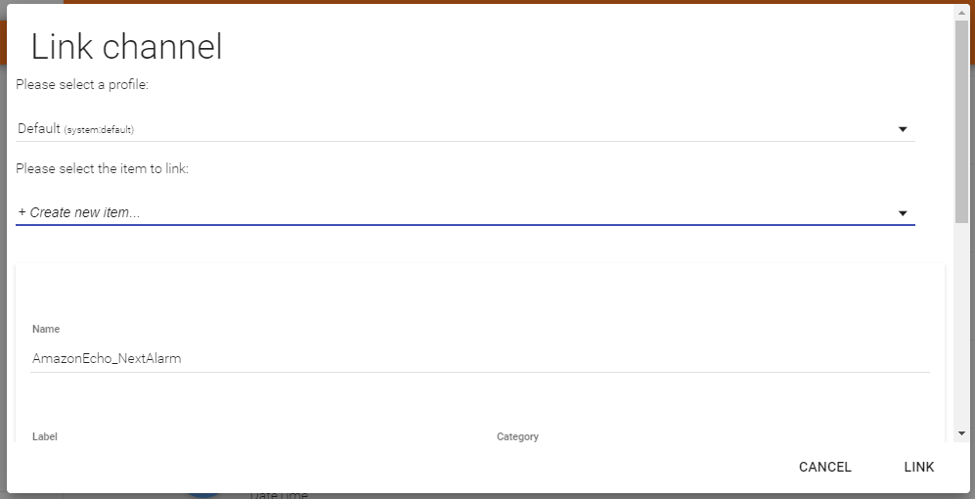
Click on “Link” button
Create a rule now by logging in to openhab ssh.
Change to rules
directory
cd $OPENHAB_CONF/rules
Repeat for NextReminder and NextTimer. See the rules below
To set Openhab/MQTT to control your gadget from Alexa. Check this
All the best!
 Home
Home Internet Of Things
 Telecom
 IT stuff
 About Us
 Contact Us
 Site Map
Suresh Hariramani
I am an IOT enthusiast with more than 20 years of experience in the IT sector. Specializing in telecom service's; follow me for some very innovative and best in class IOT products as I unfold my knowledge and passion for the subject.

Vatsal Hariramani
Just me, myself and I, exploring the universe of uknownment. I have a heart of love and interests in technology, IOT and travel . And I want to share my world with you .